Showing posts with label 12 Minute DIY. Show all posts

Monday, January 12

12 Minute DIY // Color Block Wood Bowls


Our first DIY of 2015! And of course we're keeping things simple with a brand new 12 Minute DIY. The color block trend has been going strong for a few years now but we're still loving it. Playing on that trend, we gave these little bowls a makeover. We're digging this subdued palette paired with the rustic warmth of the natural wood. These painted bowls were so simple to DIY and make such a pretty catch all for your keys, spare change, or jewelry.


Painted Wood Bowls //

Wood Bowls
Acrylic Paint
Painters Tape (or masking or washi tape)
Paint Brush
Spray Shellac or Clear Glaze (optional)

Use tape to section off a pattern of your liking. Apply 2 to 3 coats of acrylic paint, letting each coat dry between the next. Once the last coat is dry, peel off the tape and fix any little imperfections. Finish with a coat of clear glaze or spray shellac to prevent chipping.


Share your Foxtail + Moss inspired DIY's by tagging your photos #foxtailandmoss

Friday, December 19

12 Minute DIY // The Gift Edition 02

How's that Christmas gift list going, you guys? Are all those names ticked off? Are you checking it twice? ;) With less than a week to spare, there's nothing quite like last minute panic to set you in high gear shopping mode. But you can skip those crowded shops and malls because we have a new installment of 12 Minute DIYs today and it's a two-for! These air plant-centric gifts are a cinch to throw together and will make those green thumbers in your life oh-so-happy!


DIY Hanging Wooden Air Plant Dish //
Mini Bamboo Prep Bowls*
Drill
Yarn
Air Plant

Measure and mark four spots on your bowl, making sure each spot is symmetrical. Drill a hole in each spot. Thread the yarn through each hole (use an embroidery needle if you're struggling to get the yarn through) and double or triple knot to secure. Gather together the four pieces of yarn and knot at the top. Add an air plant and hang!

*We found these little bowls at our local food co-op where they sell a small selection of bamboo serve ware. You can find something similar at most health food stores (and we've spied them at Whole Foods Market and World Market.)

Air Plant Ornament //
Clear Glass Ornament
Yarn
Air Plant

It's not even fair to call this a DIY because it's so self explanatory. The only tricky part can be finding an air plant small enough to fit through the opening of the ornament. Once a week, fill the ornament with water to soak the plant, drain, and turn upside down to dry out. We think this ornament is darling enough to leave out year round! 


Still stumped on what to give or stuck in a present rut? Here are a few more simple DIY gift ideas to get you inspired for a crafty weekend:

DIY Dipped Decanter and Glasses / Moon Phases Mug / Tipsy Succulent Planters / Dried Sage Smudge Stick / DIY Dipped Wood Air Plant Pot / Homemade Coffee Mud Mask / Rosemary Shaving Cream

Wednesday, December 3

12 Minute DIY // The Gift Edition 01

12 Minute DIY // The Gift Edition 01
Guess what? There are (only) 22 days left until Christmas. And I have approximately zero gift shopping done. Gulp! This year I made the promise to shop small and avoid big box stores. But in addition to supporting independent and local artists, I want to try my hand at giving homemade gifts. Double gulp!
The thought of homemade gifts can conjure images of overly crafty Pinterest-fails and/or glittered covered macaroni necklaces. But we're here to reassure you that handmade gifts can be every bit as lovely as store bought. And they don't have to eat up a ton of your time. Proof: this DIY Dipped Decanter and Glasses set. This will make the perfect gift for the wine snob on my list (you know who you are)! The look is luxe and modern without being too fussy or fancy. And the step-by-step is beyond easy.

12 Minute DIY // The Gift Edition 01


DIY Dipped Decanter and Glasses //
Set of wine or drinking glasses
Non-Toxic Craft Paint
Paint Brush
Painters Tape
Exacto Knife
Wax Paper

Dip Method // Pour paint in to a container just wider than the glass and dip. Lift glass and let excess paint drip off for 30 seconds. Turn glass mouth down over wax paper and let the paint drip and dry overnight.
*Even though the paint is non-toxic, it's still not a great idea to put your mouth on it. Once the paint is completely dry, use an exacto knife to peel away any drips that reached the rim of the glass.

Paint Method // Using painters tape, section off a portion of the glass to be "dipped". Cover the remaining exposed glass with wax paper (to avoid getting paint in this area). Paint the exposed glass below the painters tape. To create a smooth finish, use thin layers of paint, letting each layer dry completely before you add the next. Once enough layers have been applied, remove the tape and let dry overnight.

To cure // Set glasses on rack in a cool oven and turn it 350 degrees. Bake for 30 minutes. Turn off oven and let it cool down completely before removing your glasses. Wait 72 hours before using. Hand-wash only to ensure you glasses last you a long time!

Phew! Gift number one is checked off my list. Plan on making a Dipped Decanter and Glasses set as a gift (or even for yourself)? We'd love to see! Make sure to tag #fmholidays.

{Lauren}

Friday, October 3

12 Minute DIY // Painted Stones

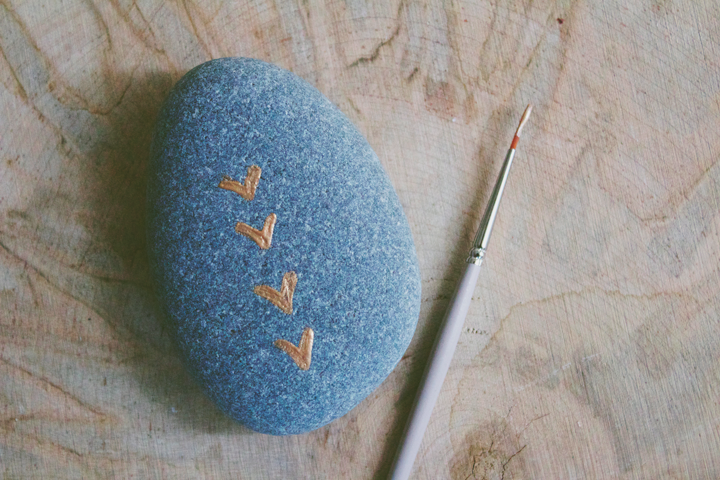
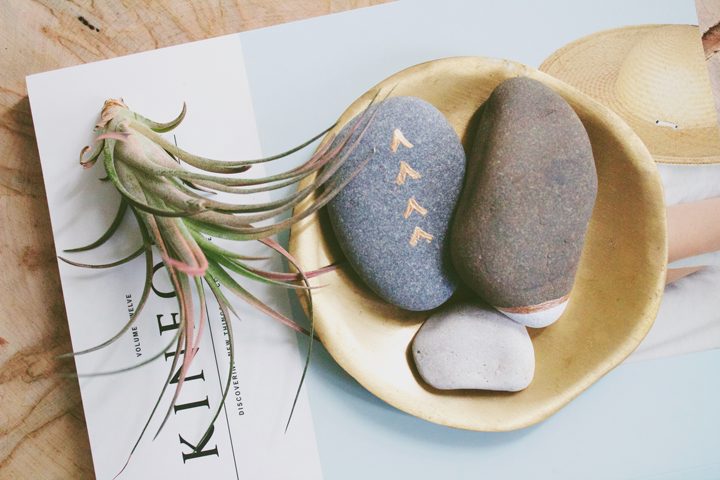
FOXTAIL + MOSSFOXTAIL + MOSSFOXTAIL + MOSSFOXTAIL + MOSSI have this kind of strange habit of collecting rocks as souvenirs on vacation. Forget shot glasses or t-shirts or little license plates with my name stamped on it. Give me gravel and I'm happy. On camping trips or visits to the lake, you'll find me combing the earth for hours picking up smooth stones and pretty pebbles. "Oh! Look at this one! No wait, this one. Omg. Thisssss one!" I collect them by the arm loads and stuff them in my suitcase. I have more than a few little rock piles lying around my house. They're like talismans, conjuring vacation memories. I hold them in my palm and recall the trip, the exact moment and place, where I found them.And then one afternoon I decided to paint my little stone souvenirs. Because, why not? (Why not paint absolutely everything with metallic paint!? That's my motto.) Armed with craft paint and paint markers, this "DIY" took me mere moments. I love the organic nature-y vibe the rocks give off lying in a dish on my coffee table! Do you have any weird trinkets or souvenirs you collect on vacations? Tiny spoons or thimbles with State birds painted on them? I love that kind of kitschy stuff. Do tell!{Lauren}

Wednesday, August 20

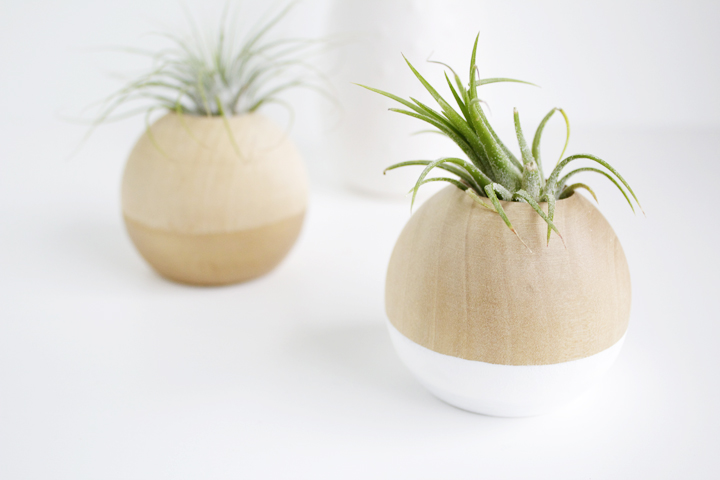
12 Minute DIY // Dipped Wood Air Plant Pot

12 Minute DIY // Dipped Wood Air Plant Pot

I'm all about simple DIY projects. Give me uncomplicated with few supplies and even fewer instructions. The less time it takes the better. I'm sure this is complete DIY blasphemy (especially coming from a lifestyle blogger), but I go for maximizing my cute project potential in the easiest way possible. Can I get an amen!?
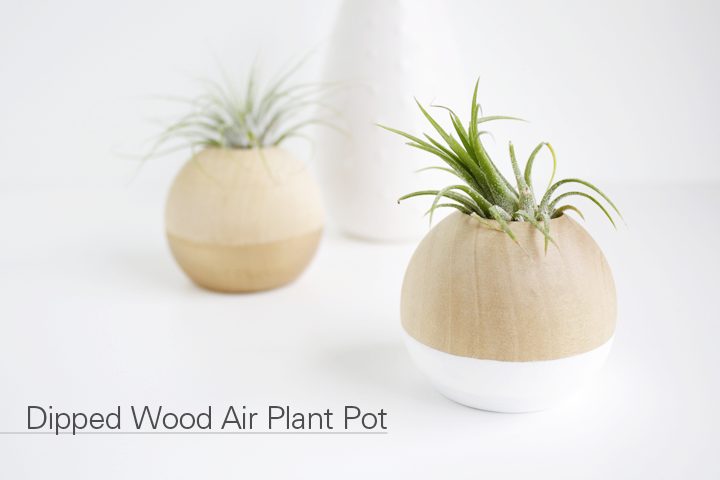
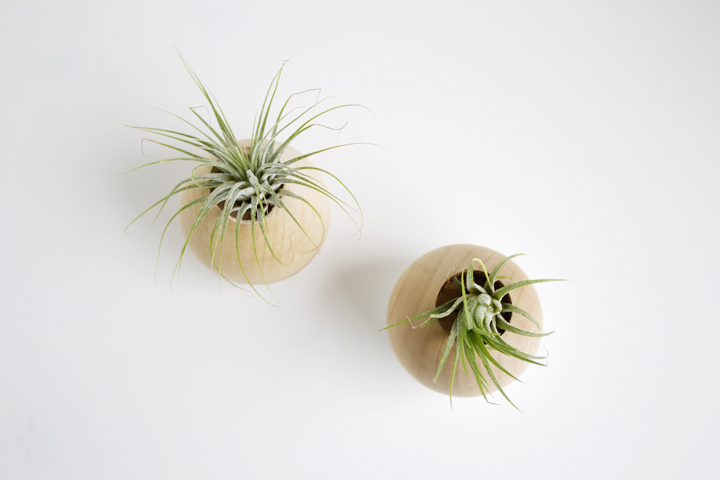
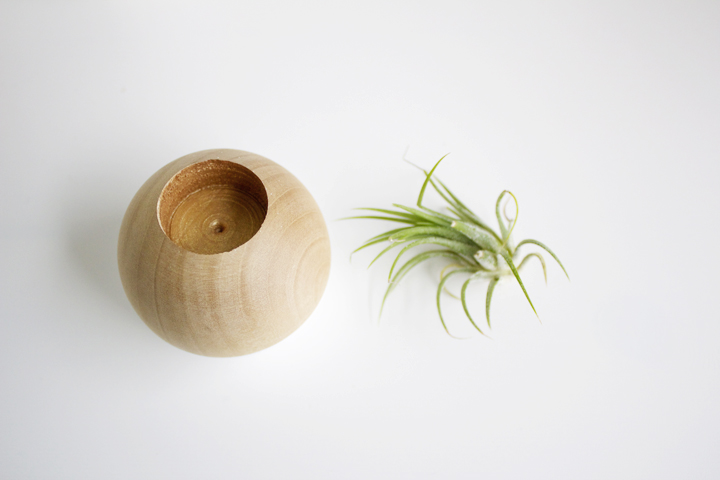
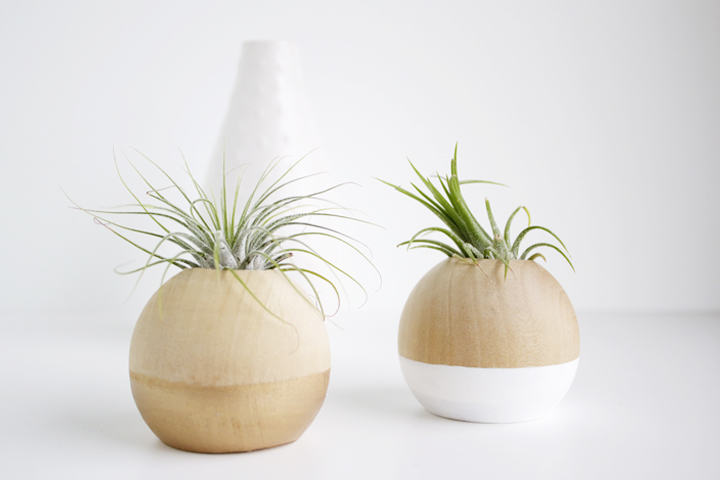
I've been spying minimalist air plants pots/pods similar to these at almost every craft fair and handmade shop I've popped by this summer and I'm loving them. Inspired by the abundance of homeless air plants just lying around my house waiting for the right vessel to come along, I set out to make a version of my own. This paint dipped wood air plant pot is SO simple to make I hesitate to even call it a DIY. All told, it took me about 12 minutes to complete (give or take a few). And isn't that the perfect amount of time to spend on a project? Click through for the how to.

12 Minute DIY // Dipped Wood Air Plant Pot

You need //
Drill
1 1/8" Forstner Bit
2" Wood Knobs/Doll Heads
Paint
Water
Small but deep bowls (for paint)
Wax Paper
Sand Paper (optional)

How to //
Mark the center of the rounded top of the wood knob and drill a hole about 1" deep. Clean out the excess saw dust and sand down any rough edges.
Mix two parts water to one part paint in a small but deep bowl. I found this ratio worked best for me, but you might want to experiment with these proportions depending on the type of paint you use. Dip the flat end of the wood knob in to the bowl of paint. Carefully lift from the paint and set on wax paper to dry.
Once the paint is completely dry, add your air plant, and admire how lovely!

{Lauren}